

Shotguns deliver devastating close-range damage against ARC units. Proper deployment maximizes shotgun effectiveness while minimizing risks. This guide teaches when and how to dominate with shotguns.
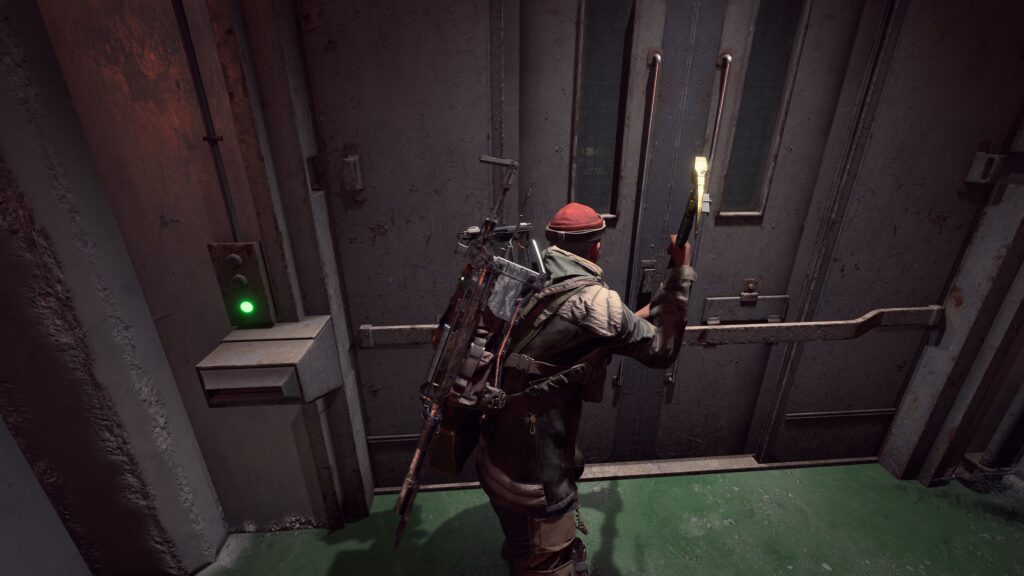
Shotgun Effectiveness by Enemy Type
Not all targets respond equally to shotgun blasts. The table below shows shotgun effectiveness versus ARC units:
| Enemy Type | Effectiveness | Shots to Kill | Recommended Range | Risk Level |
|---|---|---|---|---|
| Scout Drone | Extreme | 1 | 0-15m | Low |
| Combat Synth | High | 2-3 | 0-10m | Medium |
| Hunter Unit | High | 2-4 | 0-8m | High |
| Heavy Strider | Medium | 8-12 | 0-15m | Extreme |
| Turret Platform | Medium | 5-8 | 0-12m | High |
Shotgun Types and Selection
Different shotguns serve distinct combat purposes effectively. Pump-actions deliver maximum damage per shot. Automatic shotguns provide faster follow-up shots. Slug rounds extend effective range significantly. Buckshot maximizes close-range hit probability. Choose shotgun type matching expected engagement distances. Ammunition availability affects sustained combat capability.
Optimal Engagement Distances
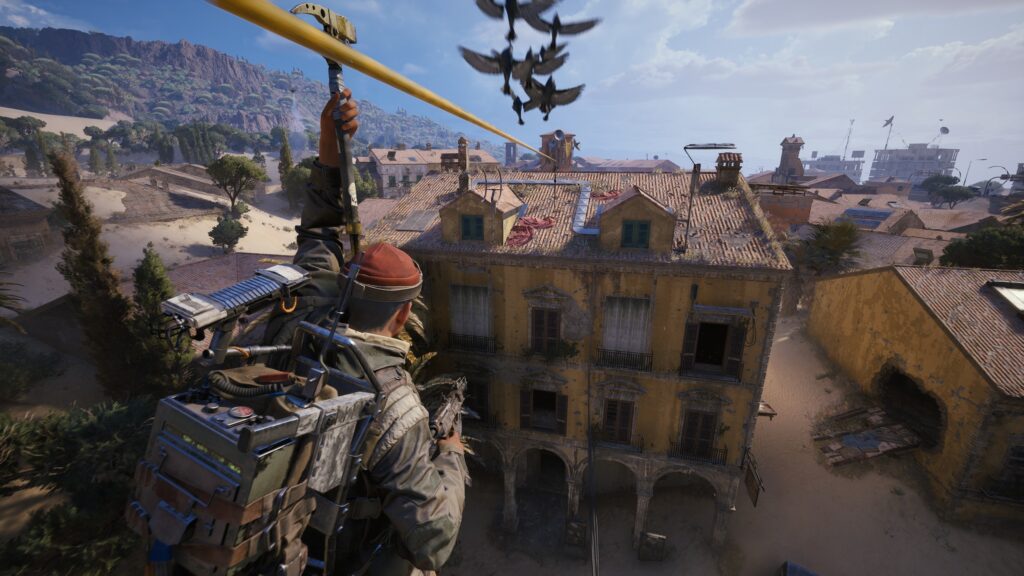
Shotgun performance drops dramatically with distance. Ideal range remains under ten meters universally. Fifteen meters represents maximum effective combat distance. Beyond twenty meters switch to secondary weapons. Closing distance requires aggressive movement patterns. Use cover to approach within shotgun range safely. Never chase retreating enemies beyond effective range.
Building and CQB Dominance
Shotguns excel in confined interior spaces naturally. Room clearing becomes methodical elimination process. Corner positioning catches enemies at perfect ranges. Doorway ambushes devastate approaching targets. Stairwells funnel enemies into kill zones. Tight corridors negate enemy range advantages. Map knowledge identifies shotgun-friendly routes.
Movement and Positioning
Shotgun success demands aggressive positioning constantly. Static shotgun users die to ranged opponents. Flanking routes close distance without frontal exposure. Smoke grenades enable safe approach movements. Teammates provide covering fire during approaches. Strafe patterns complicate enemy aim while closing. Never run directly at armed opponents.
Ammunition Management
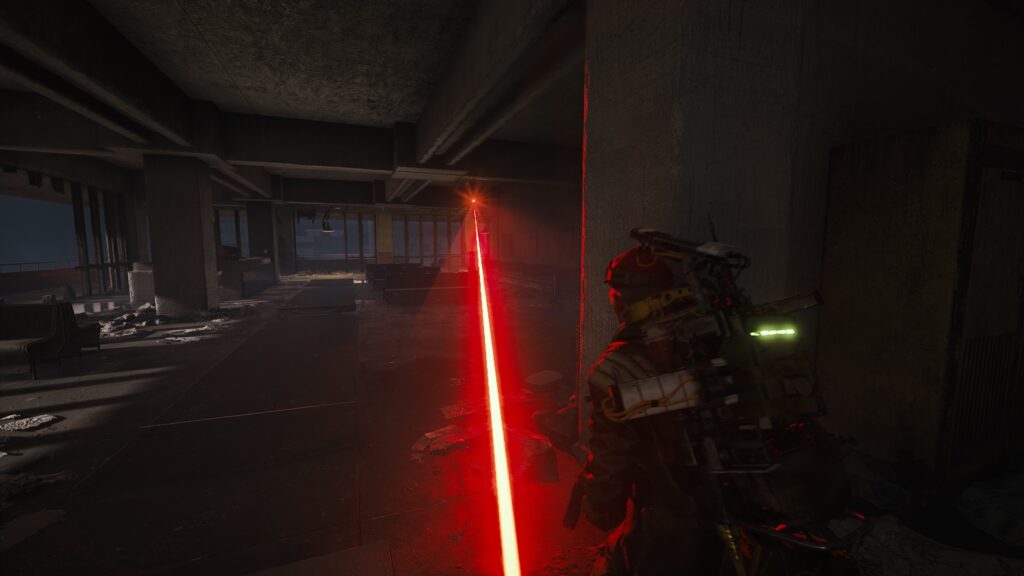
Shotgun ammunition consumption requires conscious tracking. Each shot significantly reduces total capacity. Reload after every engagement while safe. Carry maximum ammunition capacity possible. Scavenge from fallen enemies when possible. Know when to abandon shotgun due to ammo depletion. Empty shotguns become heavy useless clubs.
Secondary Weapon Pairing
Shotguns require competent backup weapons for versatility. SMGs cover medium-range engagements effectively. Pistols provide emergency backup when primary empty. Sniper rifles enable long-range options rarely. Choose secondary covering shotgun weaknesses. Weapon switching speed matters during transitions. Practice transitions until automatic under pressure.




Leave a Reply